| These are the two tanks I ordered fromPlastic-Mart.com . | 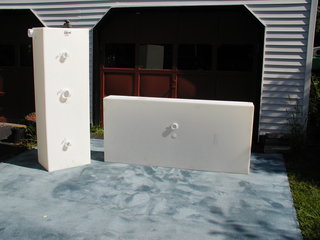 | The salesman, "Tank" (yes, really!) was very helpful and they provided and installed the spin welded fittings gratis. The tank at left in the black & gray tank and the one at right is the potable water tank.The fittings on the BG tank are all slip in and the fittings on the water tank are threaded. I'm not sure what is normally used, but these options are working out so far. |
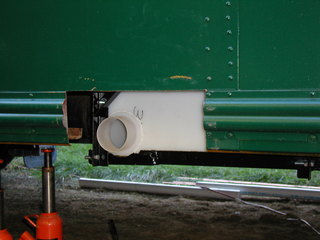
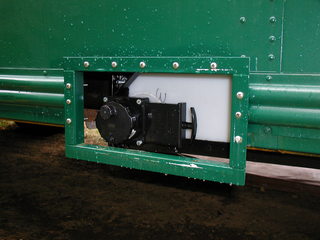
| Here is the BG tank jacked into place under the bus. It's a little tight at the dump outlet but everything should fit OK. I will cut the skirt and install a frame for the dump valve door and a 2" skirt extension that will match the profile of the under bay storage on the other side of the bus. | 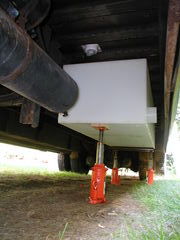 |
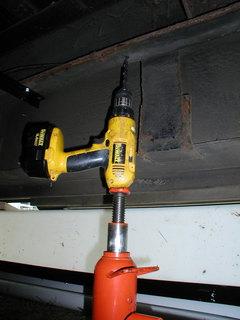
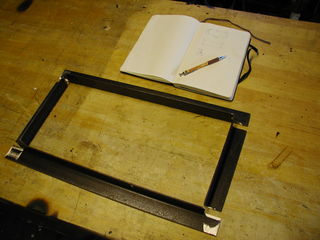
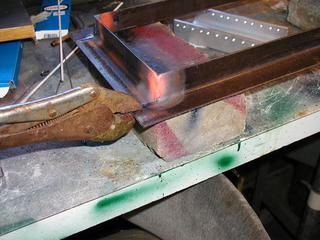
| Here is the support frame for the BG tank coming together. It's made from 1 1/4" angle iron from old bed frames. It welds nicely with an oxyacetylene torch but is tough to drill - use a low speed and cutting oil and a drill the parts on a drill press rather then trying to use a hand drill. | 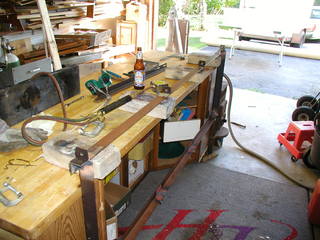 |
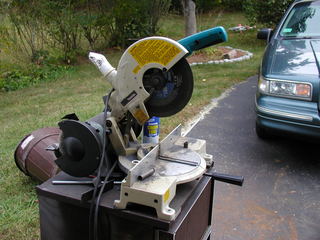
| Fitting the frame to the tank. I had to trim the area under the dump valve with the angle grinder and a cut-off wheel. This stuff is very hard on any sort of saw, I used a power miter-box and an abrasive metal cutting wheel to cut all of the stock. | 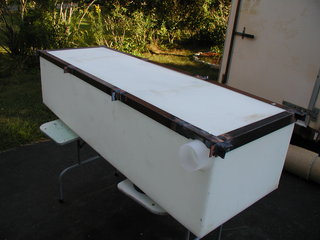 |
| Here's the completed frame assembled. I used 3/8" bolts, nuts and locks. The frame is painted with gloss black Rustoleum Protective Enamel.I put a sheet of 1/2" pressure treated ply down to protect the bottom of the tank from road debris and to give it a little extra support. | 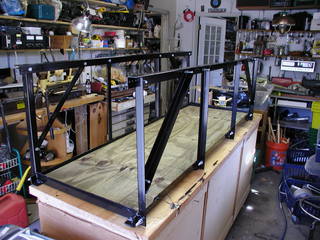 |
| I cut slots around the edge of the plywood to provide some drainage so water couldn't collect inside the angle iron at the edge of the ply. | 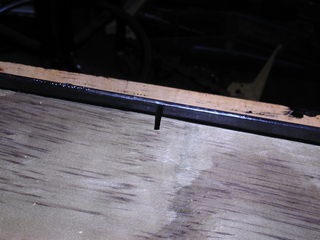 |
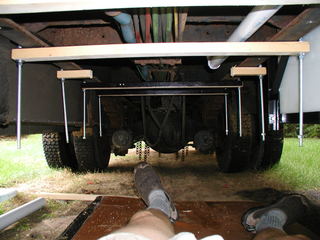
| I didn't want to drill through the floor to hang the tank so I made a bunch of these 9" long sections and they clamp the upper rail to the underside of the floor. There are 16 in all so each will only need to carry 50 LBs with a full tank. That's what I call Blackwater Security! [rimshot] ;-) | 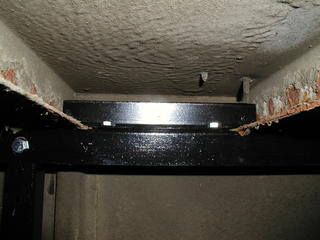 |
| Here's the frame ready to receive the tank. You can see a bit of the black iron gas pipe for the hot water heater at the top of the frame. | 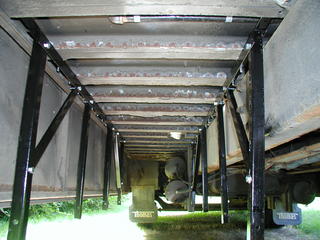 |
| The tank ready to go in. All of the fillings on the top are slip-in types so the tank should be easily removable in case of need. | 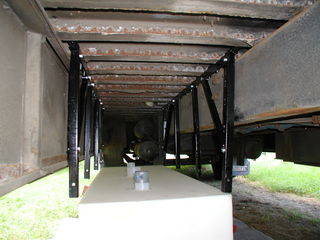 |
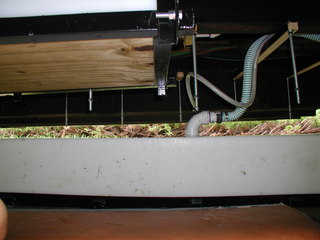
| The tank in place. The floor turns out to slant down about a 1/4" towards the outside, this threw off my geometry a bit. Some of the bolt head press kind of hard into the tank sides so I will make some shims to prevent them from damaging the tank over time. | 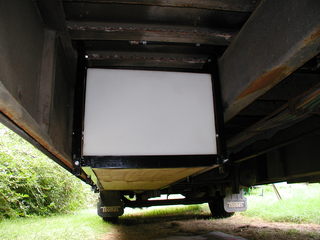 |
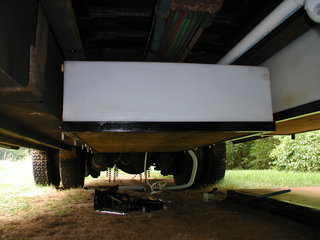
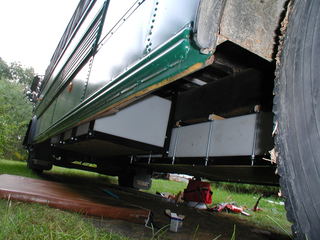
| The black and gray tanks hangs down to exactly the same level as the bottom of the cargo bay on the other side. | 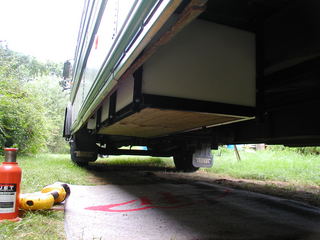 |
| View from the side, the two bits at left sticking out below the tank are the bracket for the fuel tank, they are the lowest points between the axles. | 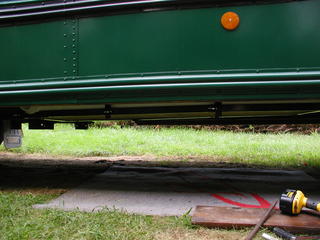 |
| This is the opening for the toilet flange, I cut this hole first and used it as the reference point for all of my subsequent measurements. | 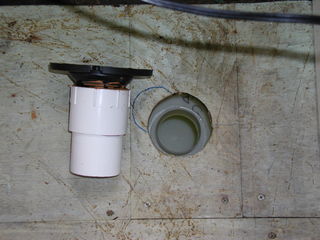 |
| The flange screws into an adapter that's glued to a short section of 3" pipe. I got the RV flange at O'Connor's Hardware (it's just hardware store, not an RV place, but they have a half isle of RV stuff. Check that, it's not just a hardware store, its the best damn hardware store in the greater Boston area.) The other fittings are standard PVC stuff. | 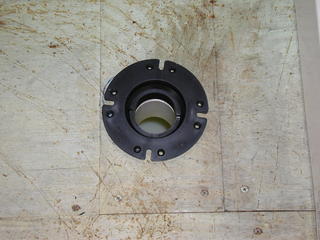 |
| I drilled this hole blind with a 2 1/4" holes saw based on the fax I sent to Plastic Mart for the location of the fittings. Sometimes you just have to use The Force. | 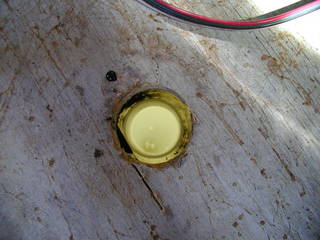 |
| Unfortunately 2 1/4' wasn't large enough for the tee that had to stick up through the floor so I had to cut out a larger hole with the sawzall. | 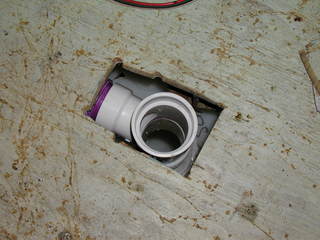 |
| The drain for the kitchen sink has a way to go, out from under the floor channel then up and over the buses frame. | 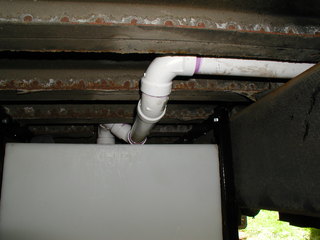 |
| Down the length of the frame. You can see the bundle of pneumatic hoses for brakes, throttle, air tanks, etc. that go up the center of the bus. | 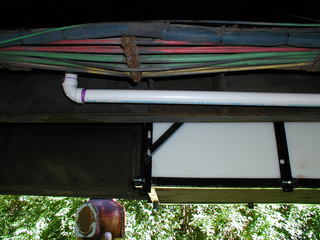 |
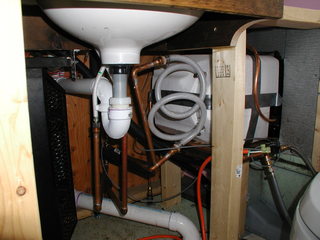
| This seemed the best place to put the trap of the kitchen sink. It should let me drain this whole run easily when it comes time to winterize, | 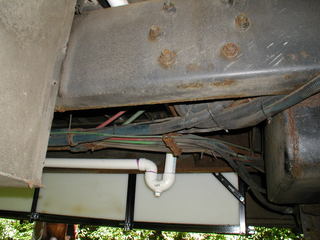 |
| And up through the floor to the kitchen sink. | 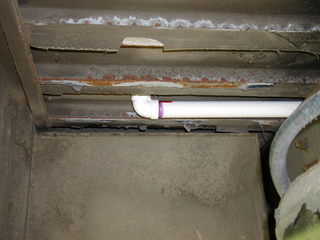 |
| 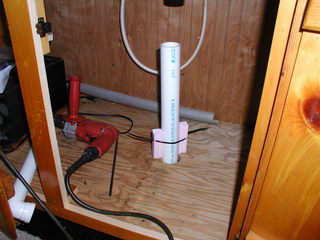 |
| This is the trap for the shower, I went down to 1 1/4" pipe because the 2" trap just would not fit between the tank and floor. | 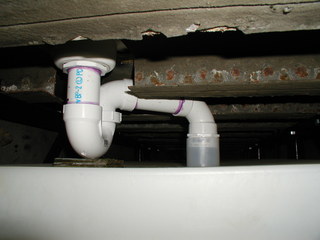 |
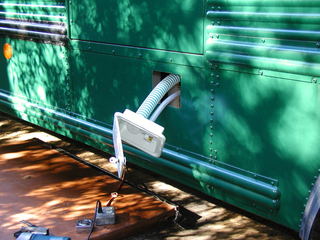
| I had to heat the vent pipe with a propane torch and bend it slightly so it would be parallel where it went through the roof. | 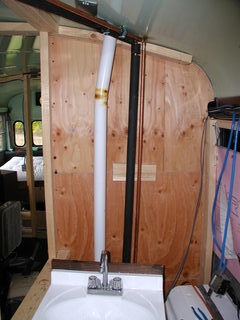 |
| Here's a little plastic vent cap to cover the end of the vent pipe. I used plenty of silicone seal around the pipe too. | 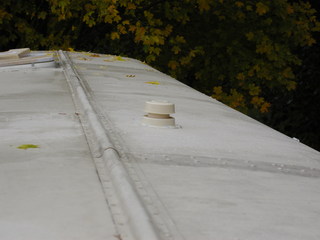 |


No comments:
Post a Comment